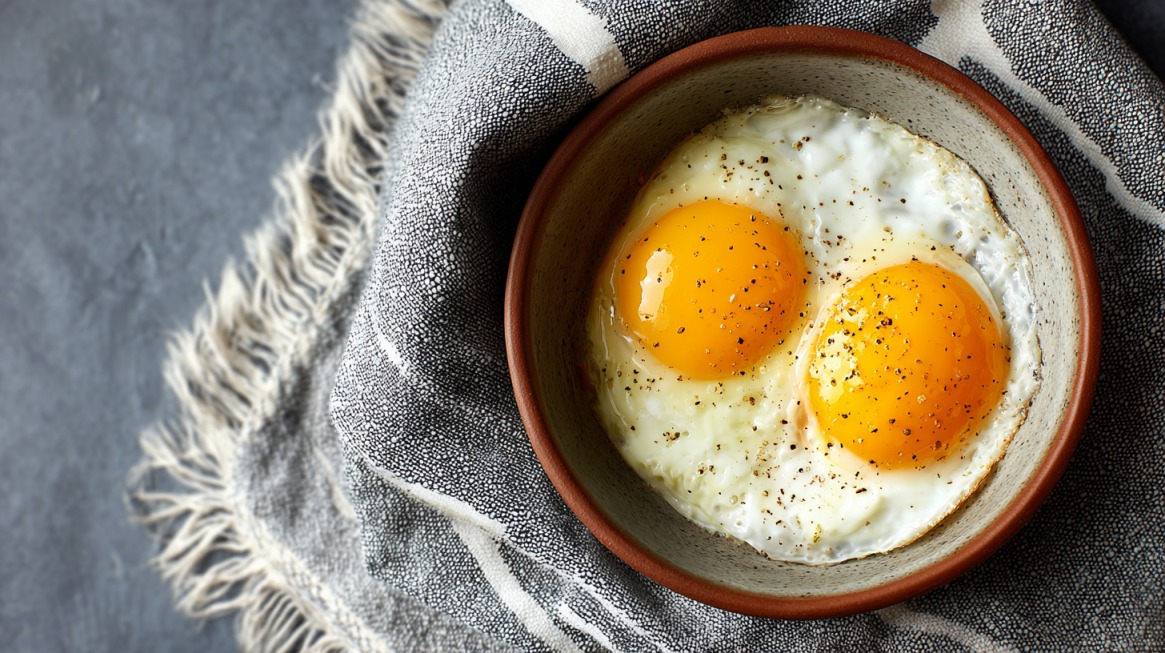
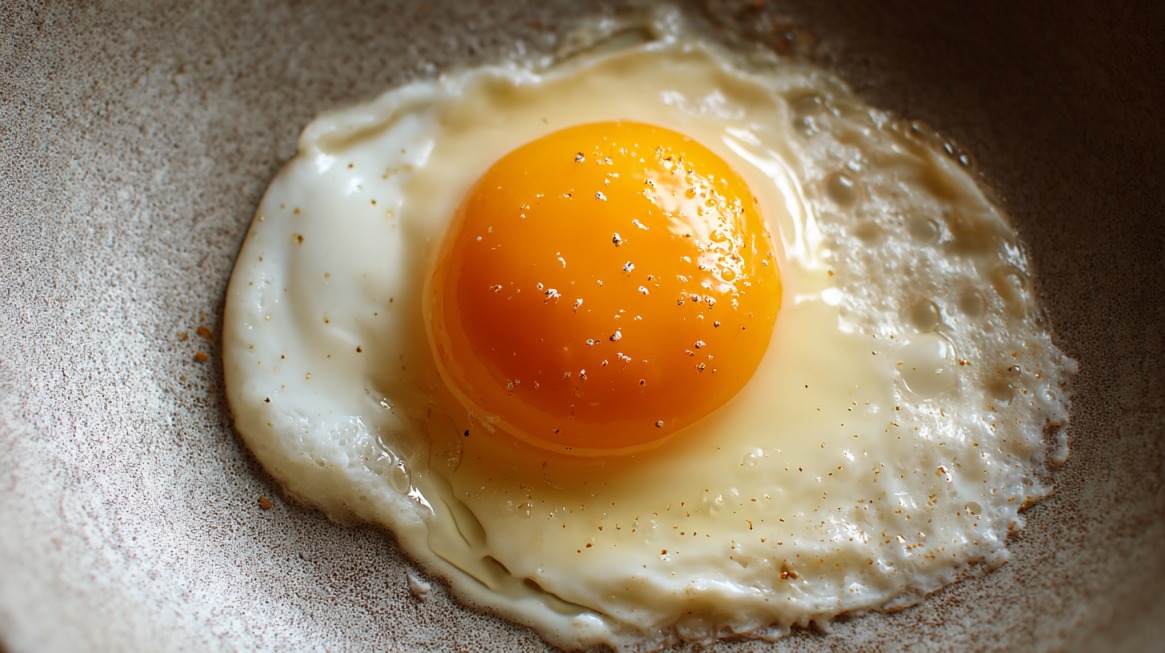
Over-medium eggs are the perfect middle ground between runny and firm. Whites are fully set and slightly crisp at the edges, while the yolk remains jammy and rich without being too loose.
That balance makes them ideal for toast, breakfast sandwiches, or even as a topping for rice and hash.
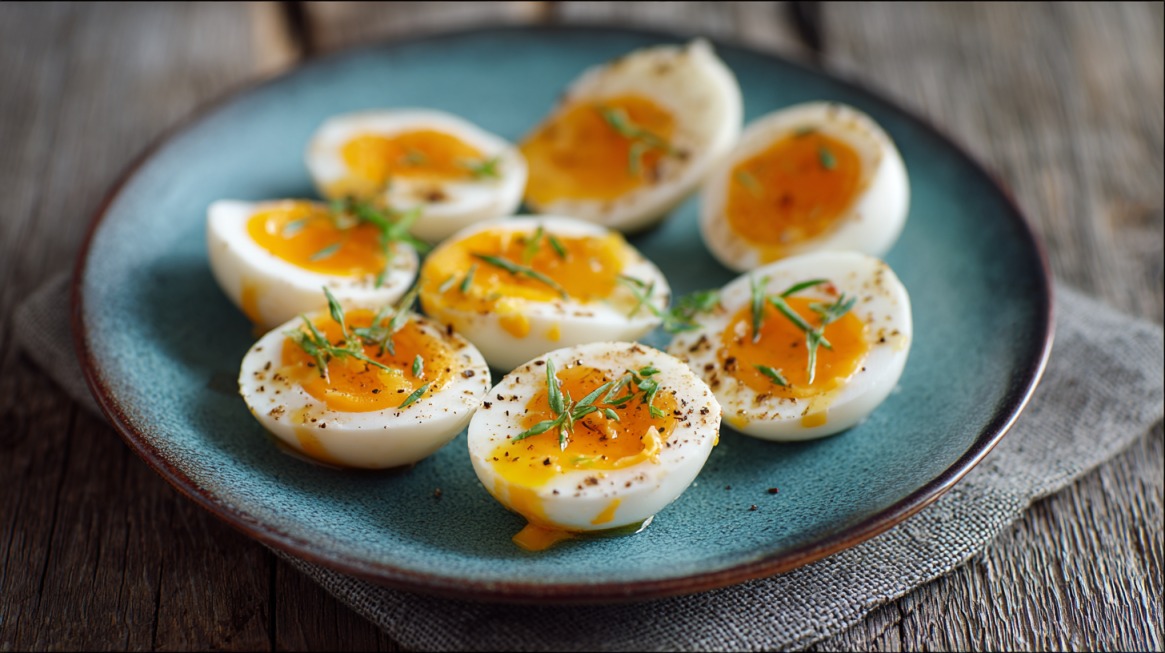
Many people confuse egg doneness levels, thinking over-easy, over-medium, and over-hard are interchangeable.
Each has its place, but the over-medium egg delivers the best of both worlds. With a bit of attention, anyone can master that precise texture and elevate an ordinary breakfast into something worth savoring.
Why Getting the Yolk “Just-Right” Is Tricky (But Doable!)
Perfecting an over-medium egg requires focus, control, and a little practice. Each egg reacts differently depending on the stove, pan, and even the fat used. Yolk texture depends heavily on temperature control and timing.
Getting that balance can be challenging because eggs respond quickly to heat. Once the whites start setting, the window between perfection and overcooking closes fast. Learning to read the visual and tactile signs is essential for consistency.
Precision is not optional; it is the entire foundation of success when cooking eggs.
- Heat management: A pan that’s too hot causes burnt edges and overcooked yolks before the center sets.
- Flipping technique: A rough or hesitant flip can break the yolk and ruin texture.
- Pan type: Stainless steel, non-stick, or cast iron all distribute heat differently, affecting timing.
- Timing: Even 15 seconds can change the consistency between runny, jammy, and hard yolks.
Heat management deserves special attention. High heat causes the outer layer to solidify too quickly while the inside remains underdone.
On the other hand, too low a temperature leads to spreading whites and uneven texture. A balanced, medium-low setting allows for gradual cooking and full control.
Flipping can be intimidating for beginners. A smooth flip requires a steady hand and confidence. Hesitation usually leads to broken yolks or torn whites. For best results, slide the spatula under the egg carefully, lift it gently, and turn it with one smooth motion.
Step-by-Step: How to Cook Perfect Over-Medium Eggs
Getting perfect over-medium eggs requires a rhythm between heat, timing, and handling. Every step affects texture, so it’s worth taking each one with care.
Key stages include preheating, adding fat, cracking, seasoning, cooking, flipping, and testing for doneness. Below is a detailed process with bullet points for clarity.
1. Preheat the Pan
A properly preheated pan sets the foundation for success. Medium-low heat ensures even cooking and prevents sticking. Give the pan time, usually 2 to 5 minutes depending on thickness, to distribute heat evenly.
Testing the surface with a drop of water can help; it should sizzle softly, not burst into steam.
- Use medium-low heat for a slow, even warm-up
- Avoid rushing; cold pans lead to sticking
- Check readiness with a small water droplet
2. Add Fat

Butter or oil makes a huge difference in texture and flavor. Butter should melt until lightly foamy, and oil should shimmer gently.
The right amount of fat not only prevents sticking but also adds subtle richness.
- One teaspoon per egg is ideal for even coating
- Unsalted butter gives better control over flavor
- Swirl fat to coat the surface fully before adding eggs
3. Crack the Eggs
Cracking correctly protects the yolk and ensures even cooking.
Tap each egg gently on a flat surface, not the edge of the pan, to avoid shell fragments. Open close to the surface so the yolk stays whole and centered.
- Crack on a flat surface for a clean break
- Use fresh eggs; older ones spread too much
- Keep the yolk intact for perfect over-medium texture
4. Season Early
Seasoning should happen while the yolk is still exposed. A light dusting of salt and pepper enhances flavor and allows seasoning to soak into the whites.
Early seasoning gives the salt time to dissolve and distribute evenly. Try experimenting with different spices that promise amazing taste!
- Salt right after eggs hit the pan
- Use cracked black pepper for texture and aroma
- Avoid over-seasoning; simplicity highlights the yolk
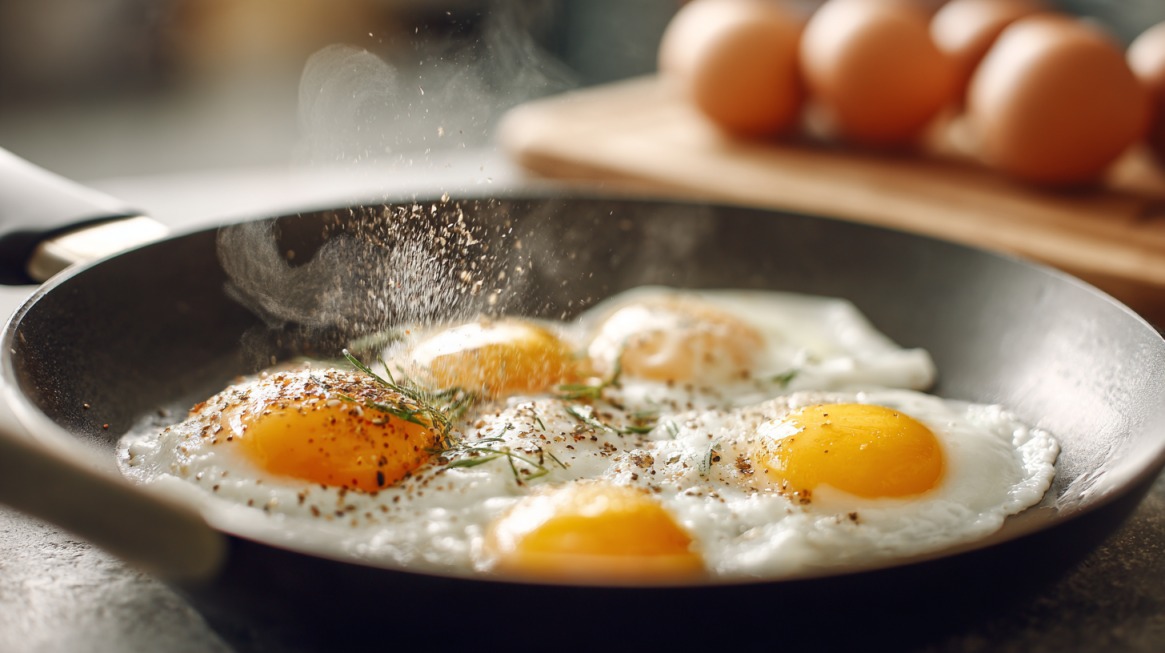
5. Cook Side 1
Cooking the first side sets the structure. Let the eggs sit undisturbed for 2–3 minutes until whites turn opaque and edges slightly crisp.
The center should remain slightly glossy to ensure the yolk isn’t overdone later.
- Opaque whites with soft centers
- Gentle sizzle, too loud means heat is too high
- No movement until ready to flip
6. Flip Carefully
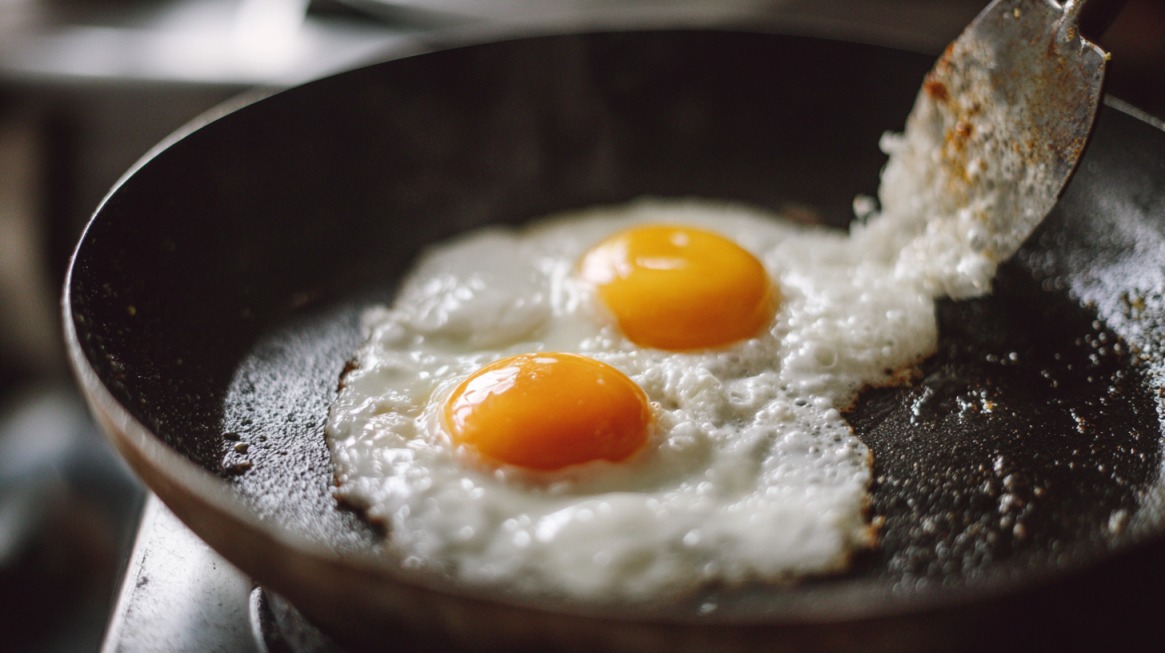
Flipping determines how the yolk turns out. Slide a thin spatula slowly underneath, ensuring it fully supports the egg before turning.
Lift and flip with confidence but keep it controlled to avoid breaking the yolk.
- Use a flexible, thin-edged spatula
- Tilt the pan slightly for smoother motion
- Keep the spatula under the yolk’s center for support
7. Cook Side 2
Once flipped, reduce heat slightly and cook for another 1–2 minutes.
This step firms the whites completely and gives the yolk that jammy, soft center without being runny. Watch closely—small timing differences matter.
- Light golden bottom
- Slightly springy yolk when pressed
- No visible liquid around the edges
8. Touch Test for Doneness
Finger pressure reveals doneness instantly. Press gently on the yolk’s surface for the ideal texture.
- Soft = underdone and runny
- Slightly springy = perfect over-medium
- Very firm = over-hard
Mastering this step makes cooking intuitive. Over time, you’ll know when an egg is ready by feel and sound rather than by a timer.
Troubleshooting & Common Mistakes
Even experienced cooks make errors with eggs. Small issues like pan temperature or fat amount can alter texture. Recognizing these common mistakes helps avoid frustration.
- Overcooked yolk: Reduce second-side cook time by 15–30 seconds.
- Undercooked whites: Cover the pan for 10 seconds to trap heat.
- Not enough fat: Add a touch more butter or oil next time.
- Too high heat: Lower flame to prevent burnt edges.
- Skipping preheat: Always warm the pan first for proper structure.
Every problem can be fixed with small adjustments in heat, timing, and patience.
Pro Tips to Master the Technique

Precision matters, but intuition takes over with experience. Using the touch test is one of the best ways to gauge yolk doneness. Once you learn how it feels, you’ll rarely need a timer.
- Practice on one egg at a time until confident
- Experiment with different fats for flavor variety
- Adjust the heat between batches, and pans retain warmth
- Clean the pan between rounds to prevent residue buildup
Each pan and stove has its quirks. Stainless steel might demand lower heat than non-stick, while cast iron retains warmth longer.
Paying attention to these differences makes all the difference in consistency. Over time, you’ll flip and cook with confidence, turning a simple egg into a breakfast art form.
Final Thoughts
Over-medium eggs may seem simple, but mastering them elevates your breakfast skills to another level.
That balance between creamy yolk and firm whites adds comfort and satisfaction to any meal. With patience, proper heat control, and a bit of practice, every plate can feature a perfectly jammy yolk.
Small kitchen victories like this one make everyday cooking a lot more rewarding.