I had no idea what I was doing the first time I baked bread. Flour dusted my counters, my dough was a sticky mess, and the yeast seemed to have ghosted me. The result? A dense, underwhelming lump that resembled a failed science experiment more than an edible loaf.
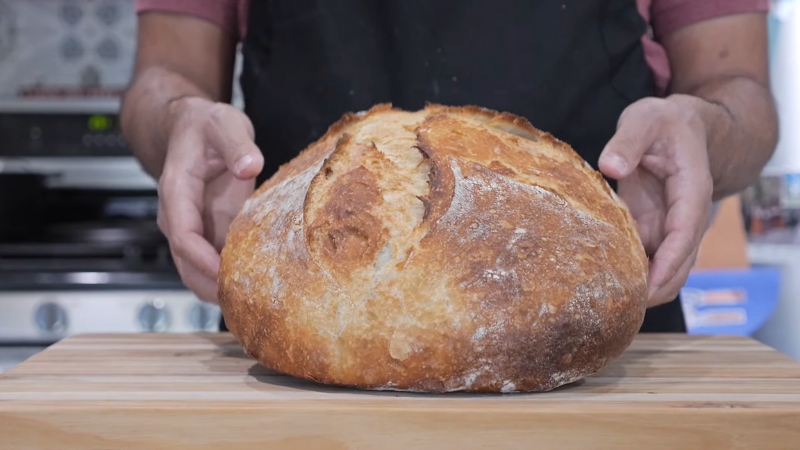
But I kept going. Because there’s something about homemade bread that hooks you. Maybe it’s the warm, golden crust that crackles as you slice through it.
Maybe it’s the aroma that fills your kitchen, wrapping you in comfort. Or maybe it’s the magic of turning four simple ingredients into something that feels like home.
If you’ve ever dreamed of baking a loaf with a crisp, shattering crust and a soft, airy crumb, you’re in the right place. Let’s talk about how to make bread that will impress not just your family and friends—but yourself.
Basic Artisan Bread Recipe
Equipment
- Large mixing bowl
- Wooden spoon or hands for mixing
- Kitchen towel or plastic wrap
- Dutch oven (preferred) or baking stone
- Sharp knife or bread lame (for scoring)
- Cooling rack
Ingredients
- 4 cups bread flour High-protein flour gives the best structure
- 1 ½ cups warm water Ideally between 100-110°F (38-43°C)
- 2 tsp salt Strengthens gluten and enhances flavor
- ½ tsp instant yeast Or use 100g (½ cup) active sourdough starter for a more complex taste
Optional Add-Ins
- Roasted garlic
- Fresh or dried herbs (rosemary, thyme)
- Olives, seeds, or nuts
Instructions
- Mixing – The Beginning of Something BeautifulIn a large bowl, combine flour and salt.Dissolve yeast in warm water, then pour into the flour mixture.Stir with a wooden spoon or your hands until no dry spots remain. The dough will be shaggy and sticky—don’t worry, that’s normal!

- Bulk Fermentation – The Slow Rise That Builds FlavorCover the bowl with a damp towel and let it sit at room temperature for 12-18 hours (overnight is perfect).The dough should double in size and have a bubbly, slightly domed surface.If you're in a rush, a warm environment (like inside your oven with the light on) can speed up fermentation, but a slow, cold rise creates the best flavor.

- Shaping – Giving Your Loaf a HomeTurn the dough onto a floured surface and gently stretch it into a rectangle.Fold the sides in, then roll it up tightly from the bottom.Cup your hands around the dough and pull it towards you, creating surface tension.Place it on a floured towel or in a proofing basket, seam side up. Let it rise for another 1-2 hours.

- Scoring – The Final Touch Before BakingJust before baking, take a sharp knife or razor blade and score the top of the dough.This helps control how the bread expands in the oven. A simple single deep slash is classic, but feel free to get creative with designs!

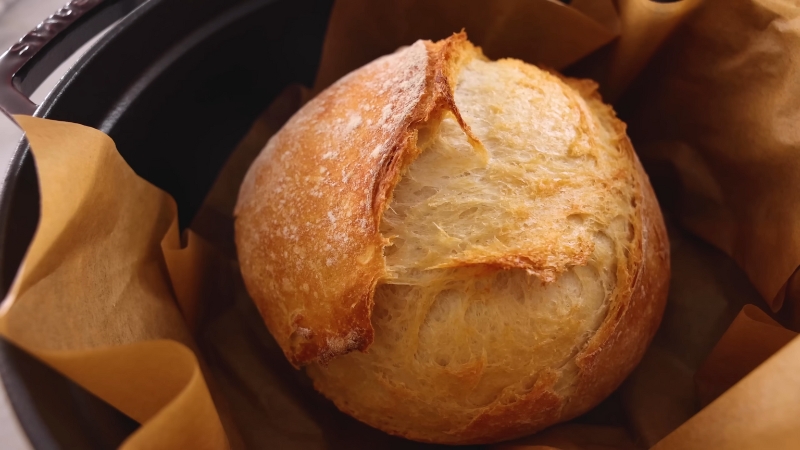
- Baking – Where the Magic HappensPreheat your oven to 475°F (245°C) for at least 30 minutes. If using a Dutch oven, preheat that too.Carefully place the dough inside, cover with a lid, and bake for 30 minutes.Remove the lid and bake for another 15-20 minutes until the crust is deep golden brown.When you take it out of the oven, listen—the crackling sound is a sign of a perfect crust!

- Cooling – The Hardest PartWait at least one hour before slicing. This allows the steam to redistribute, preventing a gummy crumb.Pour yourself a cup of coffee or a glass of wine and enjoy the anticipation.

Video
Notes
Cooking Tips
- For a crispier crust, place a tray of hot water at the bottom of the oven or spritz the dough with water before baking.
- If your bread is dense, it may not have proofed long enough, or it needs more hydration.
- If your bread is too flat, it may be over-proofed.
- For an open, airy crumb, handle the dough gently during shaping.
Pairings: What to Eat With Your Beautiful Bread
View this post on Instagram
Now that you’ve created a masterpiece, let’s talk about what to enjoy with it.
- For Breakfast: Slather with salted butter and homemade jam. Or, go all out with avocado, poached eggs, and chili flakes.
- For Lunch: The ultimate sandwich bread—grilled cheese, BLTs, or rustic turkey and brie with honey.
- For Dinner: Serve alongside a bowl of hot soup, a hearty stew, or with olive oil and balsamic for dipping.
- For Dessert: Toasted with Nutella and a sprinkle of sea salt. Trust me on this one.
Why Baking Bread Is Worth It
Baking bread isn’t just about eating—it’s about creating. It’s about slowing down in a world that never stops.
There’s something grounding about working with your hands, feeling the dough change, and waiting as the yeast does its quiet work. And when you finally slice into that loaf, knowing you made it from scratch? Nothing tastes better.
So go ahead. Get your hands in some flour. Make mistakes. Keep baking. And above all—enjoy every bite.