
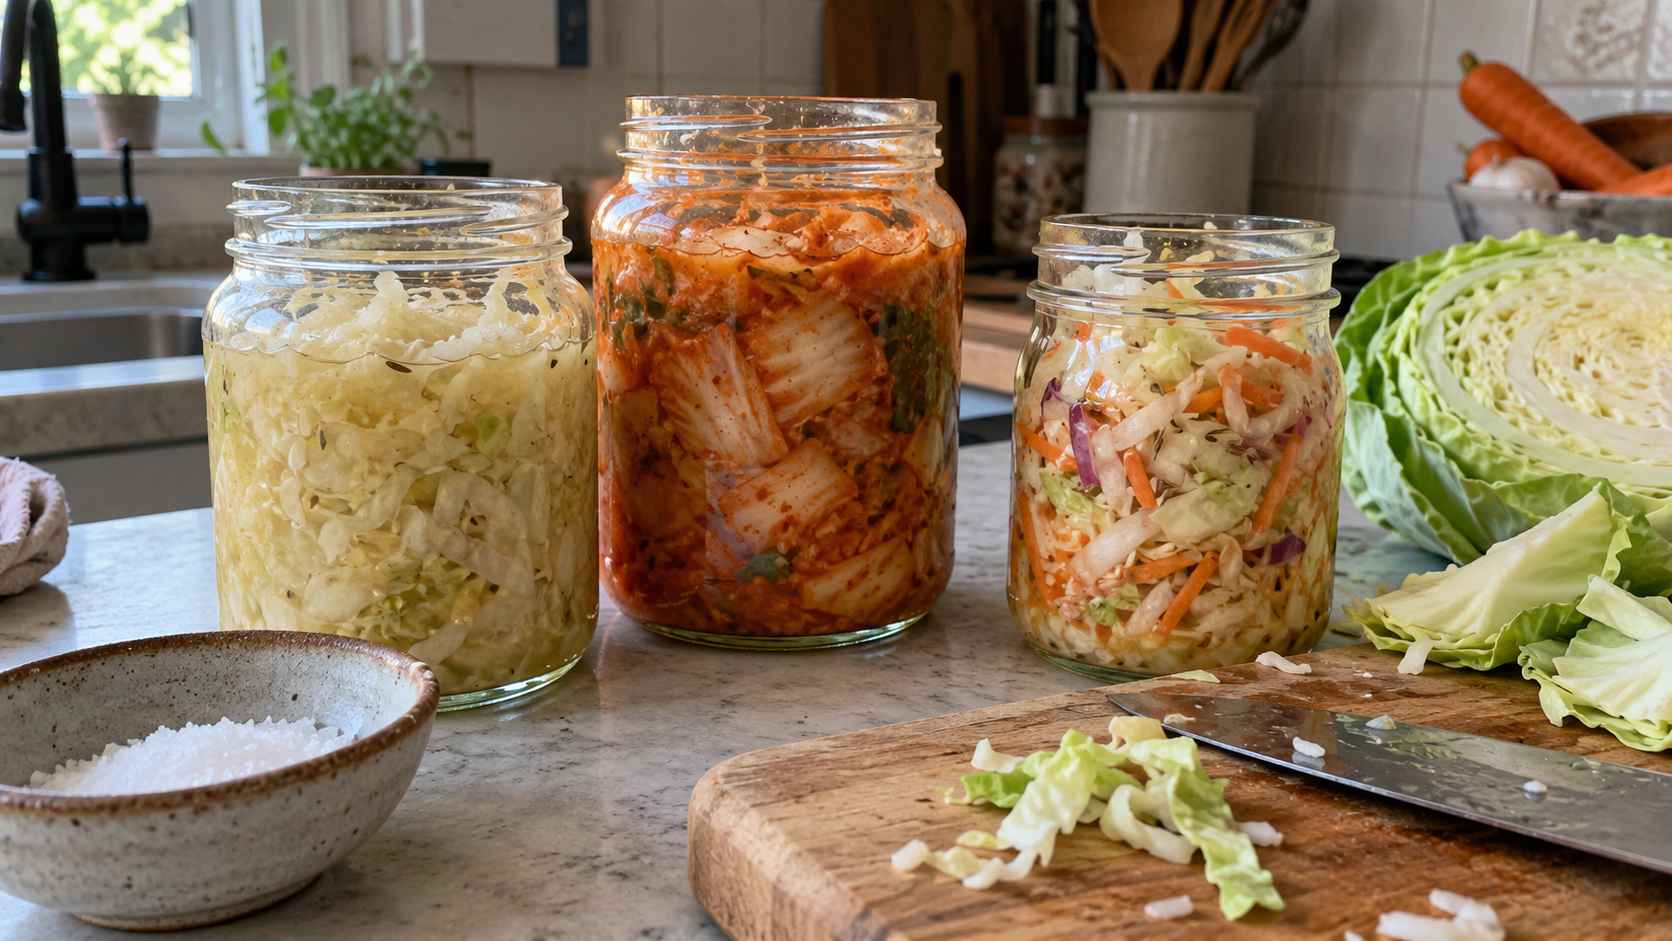
What if the tangiest, most flavorful condiment in your fridge only needed cabbage, salt and a little patience? That’s the whole idea behind lacto-fermentation, one of the oldest ways to preserve vegetables and one of the easiest to try at home.
Unlike quick pickles, which get their sour flavor from vinegar, fermented vegetables sour themselves. Salt pulls water out of the vegetables to make a brine, and the naturally occurring bacteria on the produce turn sugars into lactic acid.
The result is crunchy, tangy and complex in a way vinegar never quite matches. Starting small keeps things low-risk, too. A single jar means one head of cabbage, a few dollars of produce and very little cleanup if your first batch isn’t perfect.
How Lacto-Fermentation Works
Every head of cabbage carries lactic acid bacteria on its leaves. When you salt the cabbage and pack it under its own brine, you create an environment those bacteria love and most spoilage organisms don’t. Oxygen stays out, salt keeps unwanted microbes in check, and the good bacteria get to work.
As they feed on the natural sugars in the vegetables, they produce lactic acid and carbon dioxide. The acid is what gives sauerkraut its sour flavor and what preserves it. The carbon dioxide is where those tiny bubbles come from.
Over days or weeks, the brine gets cloudier, the flavor gets sharper and the vegetables soften just slightly while keeping their crunch.
Why Salt Ratios Matter
Salt is the one ingredient you shouldn’t eyeball. Too little and soft, off-tasting ferments become more likely. Too much and the good bacteria slow to a crawl. For most vegetable ferments, aim for about 2 percent salt by weight.
That works out to roughly 20 grams of salt for every kilogram of vegetables, or about one tablespoon of fine salt per two pounds.
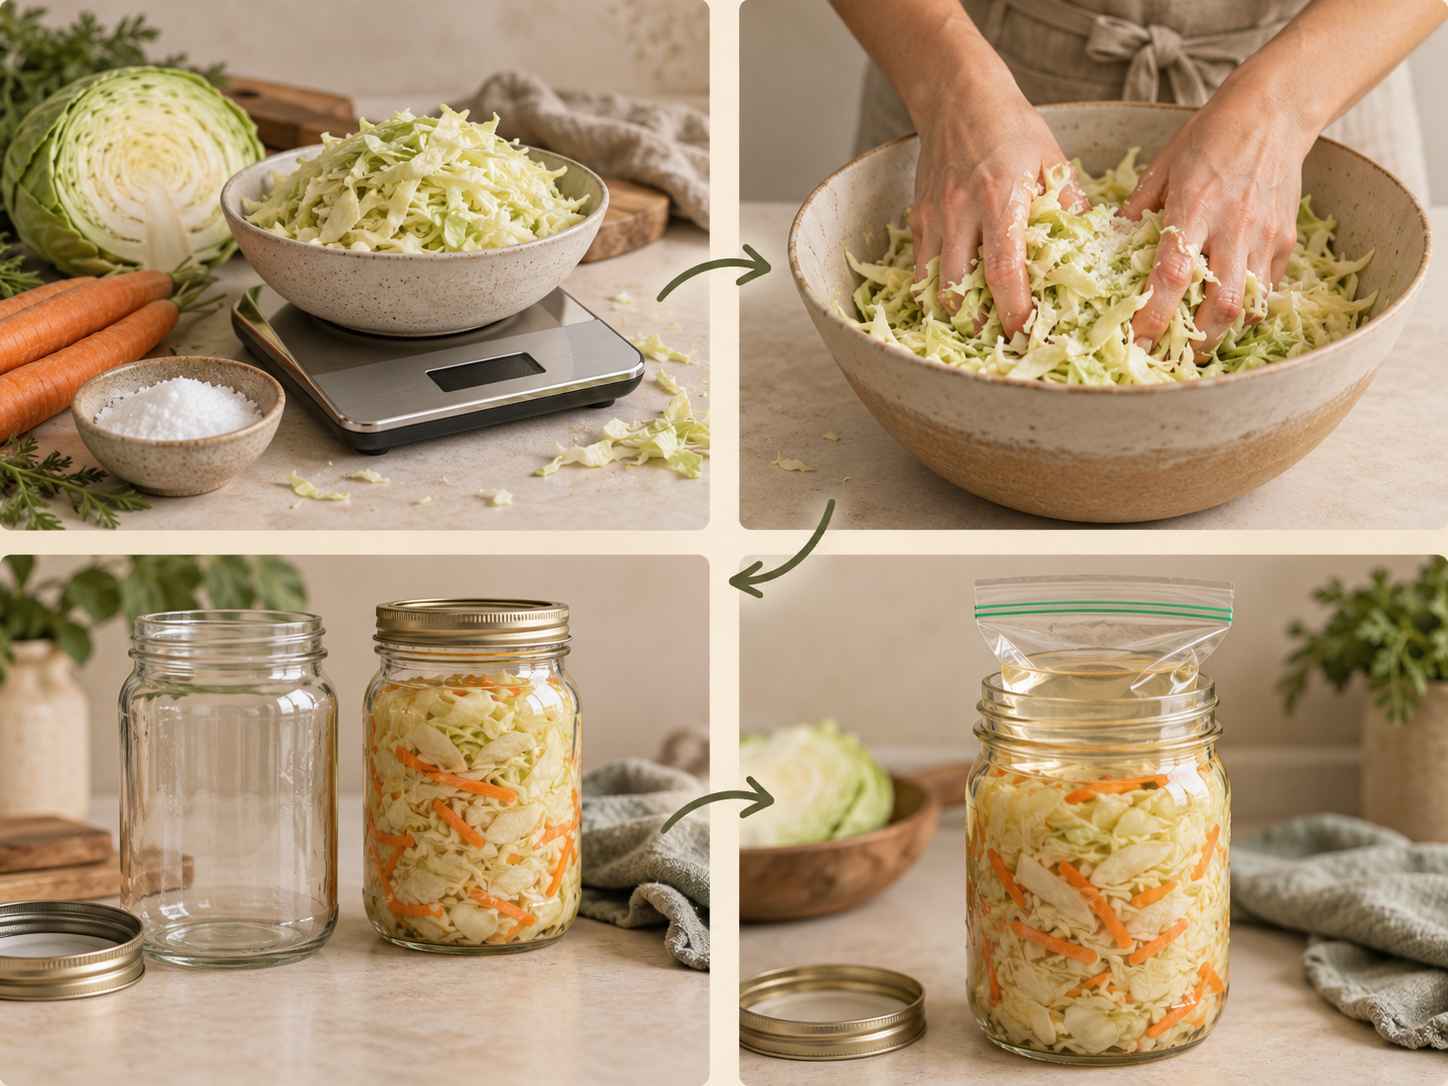
A kitchen scale makes this easy and takes the guesswork out completely. Use non-iodized salt, such as pickling salt, kosher salt or fine sea salt. Table salt often contains iodine and anti-caking agents that can cloud the brine and affect flavor.
What You’ll Need to Get Started
You don’t need a special crock or fancy equipment for small-batch fermenting.
- A kitchen scale for weighing vegetables and salt
- A large mixing bowl for salting and massaging
- One or two quart-size jars with lids
- A fermentation weight, or a small zip-top bag filled with brine
Choosing the Right Jar
Wide-mouth glass jars are the easiest vessels for a first ferment because you can see the brine level every day and press the vegetables back under with a clean spoon.
Glass also won’t react with the acid the way some metals can, and it doesn’t hold onto odors, so the same homemade jars and containers can be reused for different batches when properly cleaned. A quart jar holds about two pounds of packed cabbage, which is the perfect size for a first batch.
Classic Sauerkraut
View this post on Instagram
Sauerkraut is the best place to start. It uses just two ingredients, and it teaches you everything you need to know about salting, packing and watching a ferment.
How to Make It
Remove the outer leaves from a medium green cabbage and set one aside. Quarter the cabbage, cut out the core and slice it thin. Weigh the shredded cabbage, then weigh out 2 percent of that amount in salt. For two pounds of cabbage, that’s about 18 grams.
Toss the cabbage and salt together in a large bowl, then massage it with your hands for five to ten minutes. It will look dry at first. Keep going. The cabbage will soften, shrink and release a surprising amount of liquid.
Pack the cabbage into your jar a handful at a time, pressing down firmly after each addition so the brine rises above it. Leave at least an inch or two of space at the top. Fold the reserved outer leaf over the surface, add your weight and close the lid loosely.
How Long It Takes
Keep the jar somewhere between 65 and 75°F, out of direct sunlight. Start tasting after one week. Many people like sauerkraut best somewhere between two and four weeks, when it’s tangy but still crisp.
Warmer rooms speed things up, while cooler rooms slow them down and often produce a more nuanced flavor. Once it tastes the way you like, tighten the lid and move it to the fridge.
Quick-Start Kimchi
@logagmMaking kimchi for the first time in a while♬ original sound – Logan
Kimchi is bolder and faster than sauerkraut. Napa cabbage is more tender than green cabbage, so it’s usually salted first to draw out water, then rinsed and mixed with a spicy paste.
How to Make It
Cut one head of napa cabbage into bite-size pieces, toss it with a quarter cup of kosher salt and let it sit for one to two hours, turning it every 30 minutes. When the thick white ribs bend without snapping, rinse the cabbage well two or three times and let it drain.
While it drains, make the paste. Blend five garlic cloves, a thumb-size piece of ginger, one tablespoon of sugar and two to four tablespoons of gochugaru (Korean chili flakes) with a splash of water.
Traditional kimchi uses fish sauce or salted shrimp, but a tablespoon of soy sauce or white miso makes an excellent vegetarian version. Toss the cabbage with the paste, sliced scallions and a handful of julienned daikon radish, then pack it tightly into a jar.
How Long It Takes
Kimchi ferments quickly. Leave it at room temperature for one to five days, pressing it down once a day to release gas and keep it submerged. Once it smells pleasantly sour and you see bubbles when you press on it, move it to the fridge, where it will keep developing flavor slowly for weeks.
Fermented Curtido
View this post on Instagram
Curtido is a Salvadoran cabbage slaw traditionally served with pupusas. Many cooks make it as a quick vinegar slaw, but the fermented version is brighter, more complex and fantastic on tacos, grain bowls and eggs.
How to Make It
Shred half a green cabbage and combine it with one grated carrot, half a thinly sliced onion, one sliced jalapeño and a teaspoon of dried oregano. Weigh the vegetables and add 2 percent salt, then massage and pack just like sauerkraut. A pinch of red pepper flakes adds extra heat if you want it.
How Long It Takes
Curtido falls in between the other two. Taste it after three days and move it to the fridge once it’s pleasantly tangy, usually within a week. The carrots keep it crunchy, and the oregano gets more fragrant the longer it sits.
Good Bubbles vs. Real Spoilage
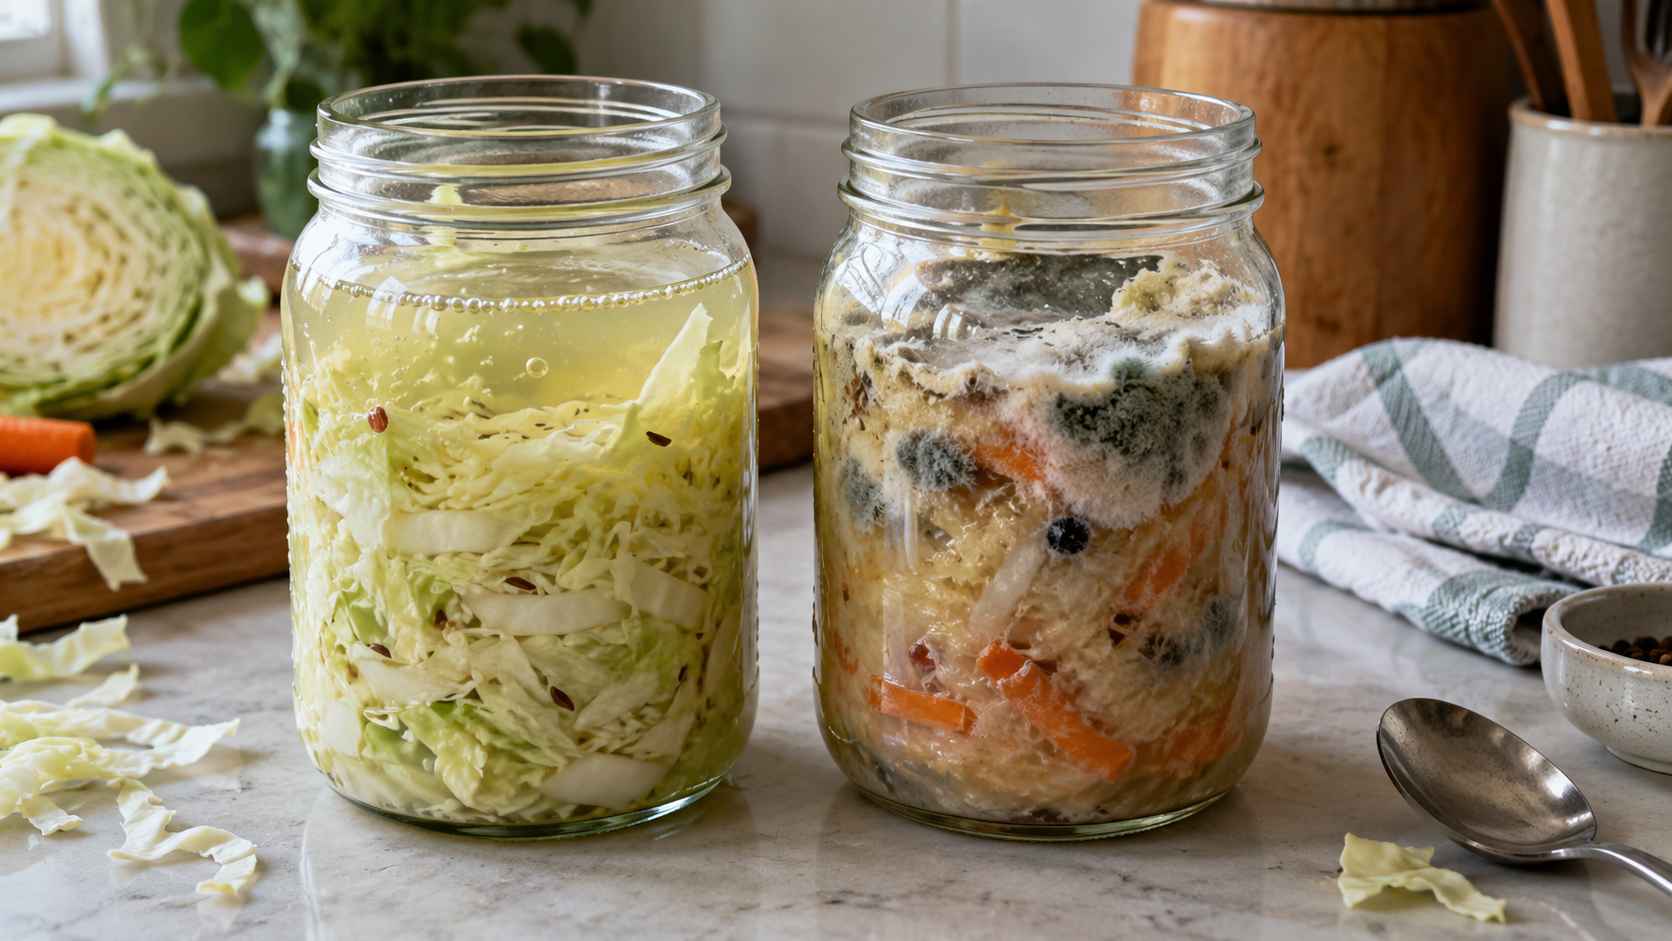
This is the part that makes most beginners nervous, but the signs are fairly easy to read once you know what to look for. A healthy ferment is active and a little messy.
- Small bubbles rising through the jar, especially in the first few days
- Cloudy brine and a bit of sediment at the bottom
- A sour, tangy smell, sometimes with a sulfur note in cabbage ferments
- Brine that bubbles up and overflows as gas builds
A thin, flat white film on the surface is usually kahm yeast. It’s common when vegetables float above the brine, and it isn’t harmful, but it can give an off flavor. Skim it off, press the vegetables back under and carry on.
Real spoilage looks different. Fuzzy mold in any color, whether blue, green, black or pink, means the batch should go in the trash. The same is true for vegetables that feel slimy or a smell that’s rotten rather than sour.
When in doubt, throw it out and start a fresh jar. At a few dollars per batch, it’s never worth the risk.
Mistakes to Avoid
| Mistake | Why It Matters | What to Do |
|---|---|---|
| Letting Vegetables Float | Vegetables above the brine are exposed to air, which increases the risk of mold. | Check the jar daily and keep everything submerged. If needed, add a 2% brine made with 20 g of salt per 1 liter of water. |
| Sealing the Lid Too Tightly | Fermentation produces gas, so pressure can build up inside a tightly sealed jar. | Keep the lid slightly loose during active fermentation or open the jar briefly once a day to release gas. An airlock lid can also help. |
| Overfilling the Jar | Brine can rise and overflow as fermentation becomes more active. | Leave 1 to 2 inches of headspace and place the jar on a plate or small tray to catch spills. |
| Fermenting Somewhere Too Warm | Temperatures above about 75°F can make fermented vegetables soften and turn mushy more quickly. | Store the jar in a cooler spot, such as a pantry shelf or basement area, away from direct sunlight. |
Storing Your Finished Ferments
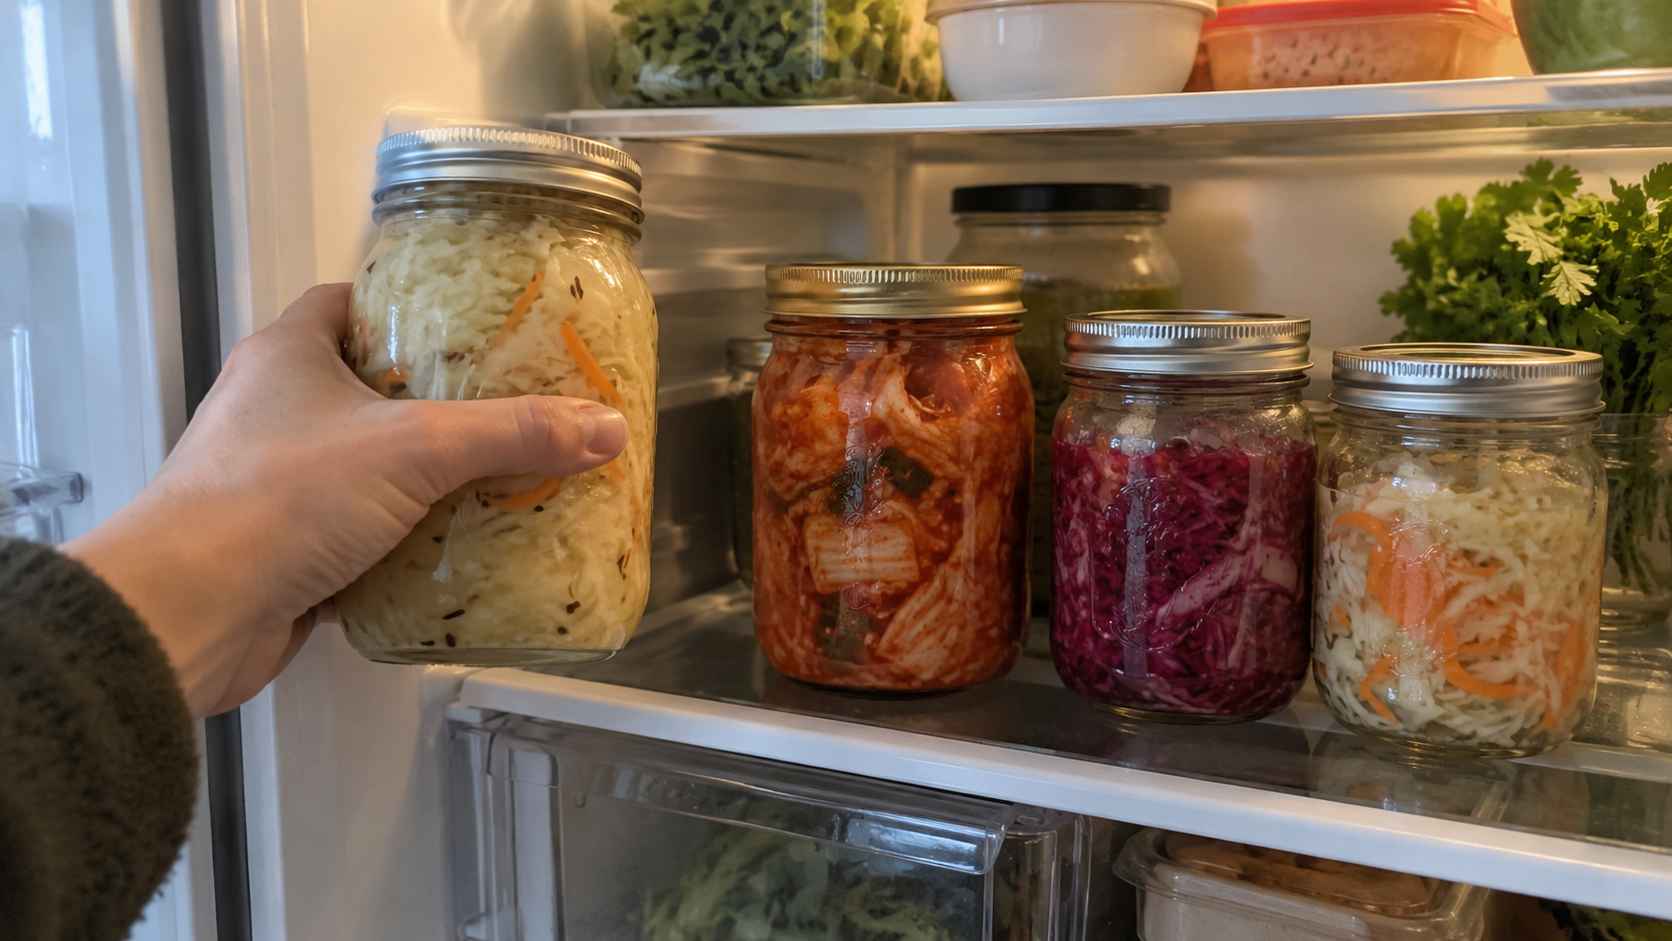
Once your vegetables taste right, tighten the lid and move the jar to the refrigerator. Cold temperatures slow fermentation dramatically, so the flavor stays close to where you stopped it.
Sauerkraut and curtido will keep for several months in the fridge as long as the vegetables stay submerged. Kimchi keeps getting more sour over time, which many people love. Extra-sour kimchi is perfect for fried rice, stews and pancakes.
Always use a clean fork or spoon when you serve, since bringing in crumbs or other food can introduce unwanted bacteria.
The Tangy Finish
Fermenting vegetables doesn’t take special equipment or years of experience. A head of cabbage, the right amount of salt and a jar on the counter are all it takes.
Start with sauerkraut to learn the basics, move on to kimchi when you want something bolder, and keep a jar of curtido around for tacos and scrambled eggs. Once you taste your first homemade batch, store-bought versions will never quite compare.